
Hey there Slashers!
Many times with the New Events I see PANIC and/or confusion. Mostly due to new itemd and no one knows just yet how to get the hang of what is going on. Well, just as usual, here to help in anyway I can with some Basic 101 and detailed breakdown of HOW TO on the aspects of the Game Play.
For this post, I will be diving into the aspects of getting and taking out the Headless Horsemen & Crazy Clowns.

Much of this information was provided in the Phase Rundown Posts. For the Event Page with all the posts, go HERE.
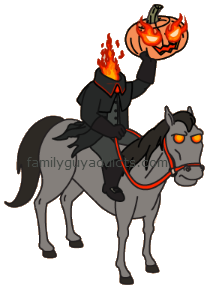
Let’s take a closer look now at the Headless Horsemen.
WHEN DO THE HORSEMEN ARRIVE IN THE GAME?
They will start to appear in your game during the Main Questline AFTER Death At The Drive In III Part 1.
WHAT DO I NEED FOR THEM?
Pumpkins & Pumpkin Launchers. Each Headless Horseman requires TWO Pumpkin Launchers to defeat them. So you must first collect items and create those Launchers to use on the Headless Horsemen.
 Pumpkins: Slasher Bait Lois Do Cheerleader Poses OR Death Kick Back OR Chucky Play With Knives OR Chris Eat a Large Ham OR Slasher Cat Cave OR Hot & Muggy Coffee Shop OR Jack-O-Lantern Lathe OR Pumpkin Pyramid
 Pumpkin Launchers: You can create these in the Movie Prop Shack. Each one will require ONE Pumpkin and take 1hr 30mins each to create
***Note: Remember the difference of Queue vs Capacity. Queue is ONLY the items being currently made in the Movie Prop Shack. You can have ONLY 6 Props in Queue being created. CAPACITY is the number in the top left corner of the Prop Shack. This is the TOTAL amount of Props you can have in your game at one time. That means those in Queue AND already made. You can’t go over this amount. So if you have 6 in Queue and your Capacity is 8… you can only make 2 more or have 2 already made and ready for use… giving you a total of 8.
WHAT DOES IT TAKE TO TAKE DOWN A HORSEMAN?
As noted above, you will need TWO Pumpkin Launchers to take down each Horsemen. This is due to each Horseman has a Total of 50HP and each Launcher only does 25 Damage. So… 25+25=50.
![]()
Make sure you are paying attention to the HP amount in the upper right corner of the screen when you tap on a Horsemen. This way you know if you have not hit them yet, or hit them once already. This will help you to get Materials faster as you are not wasting time hitting multiple Horsemen only once when you could have completely killed one with that Second Launcher.

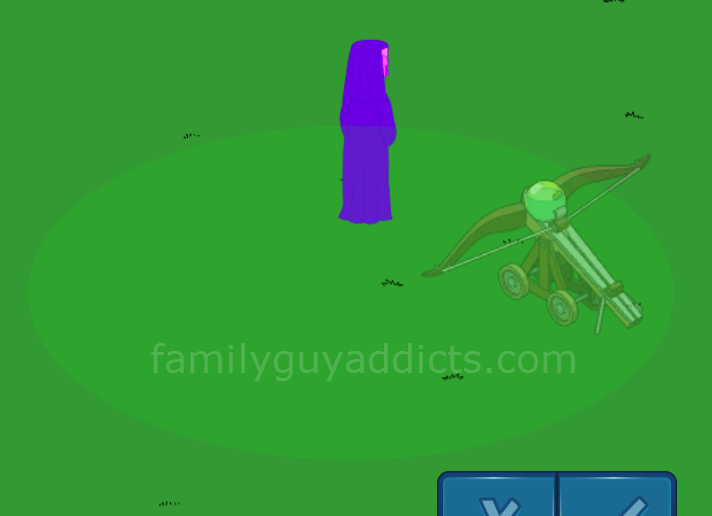
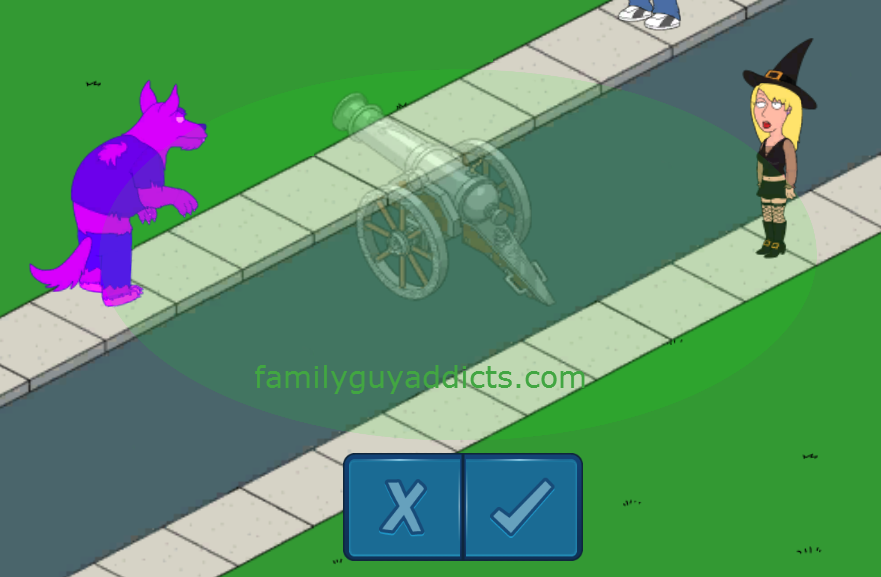
HOW DO I HIT A HORSEMAN WITH THE LAUNCHER?
Same concept as the Unholy Nuns, tap on the Horror… in this case the Headless Horsemen… and make sure it is the one you want to attack. Once you are sure, tap the Pumpkin Launcher Icon in the Lower part of the screen. (It will tell you how many are currently “OWNED”.)
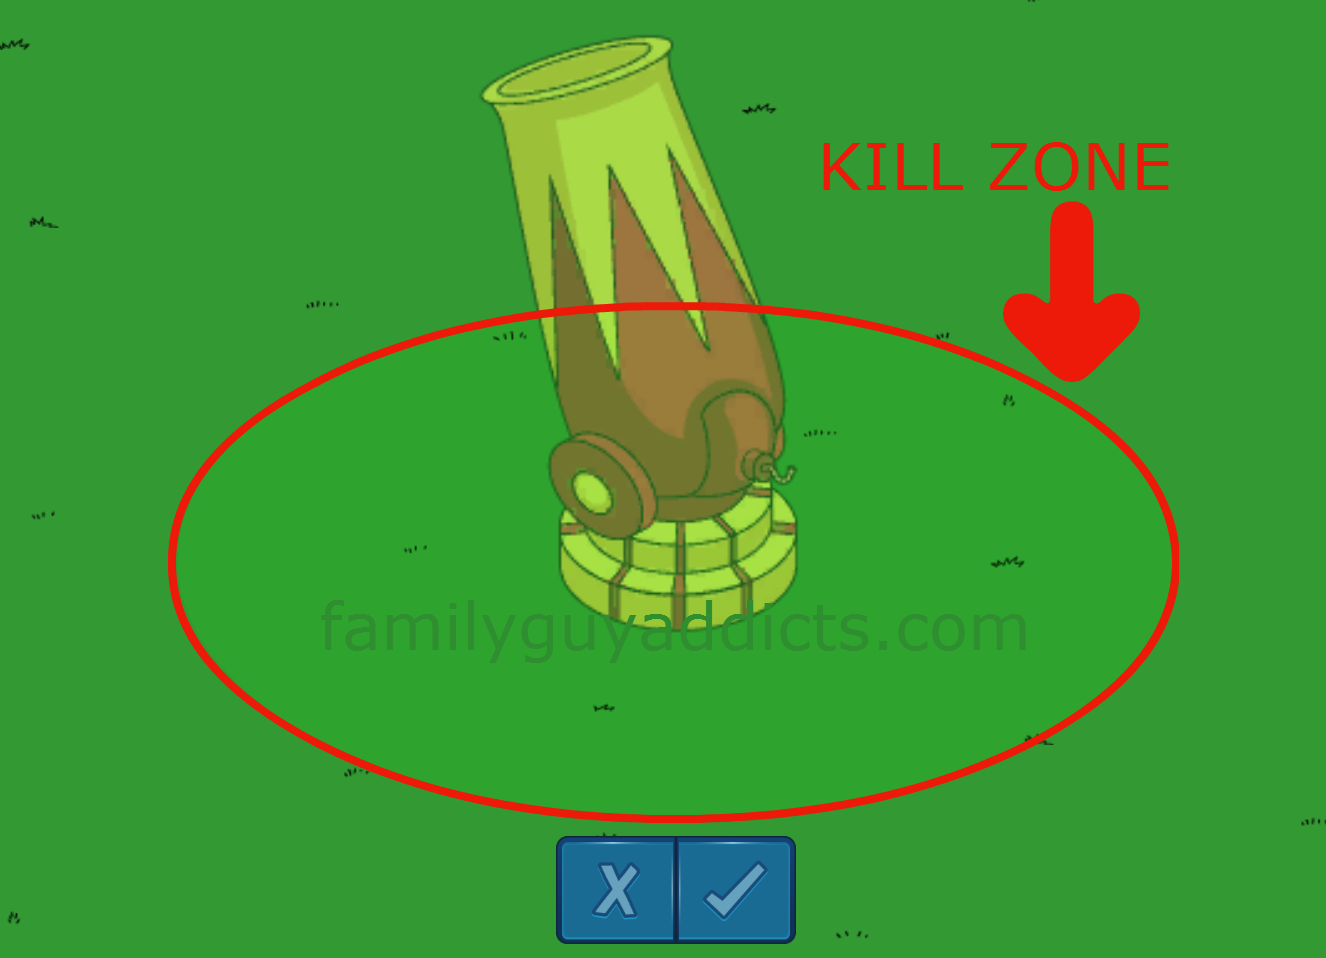
Once you Tap on OWNED, you will now see the Pumpkin Launcher on the screen with the “KILL ZONE CIRCLE” in a bit lighter shade around it. This is where you want the Horseman to be BEFORE you tap on the Check Mark to fire it.
Now to wait. Play around with it just a bit before firing to get the hang of it. Tapping directly on the faded image of the Launcher and dragging it around will move it all over on your screen. You are basically getting an idea of how fast the Horsemen are going to move in/turning Purple and move out/ turning back to normal of that Kill Zone Circle.
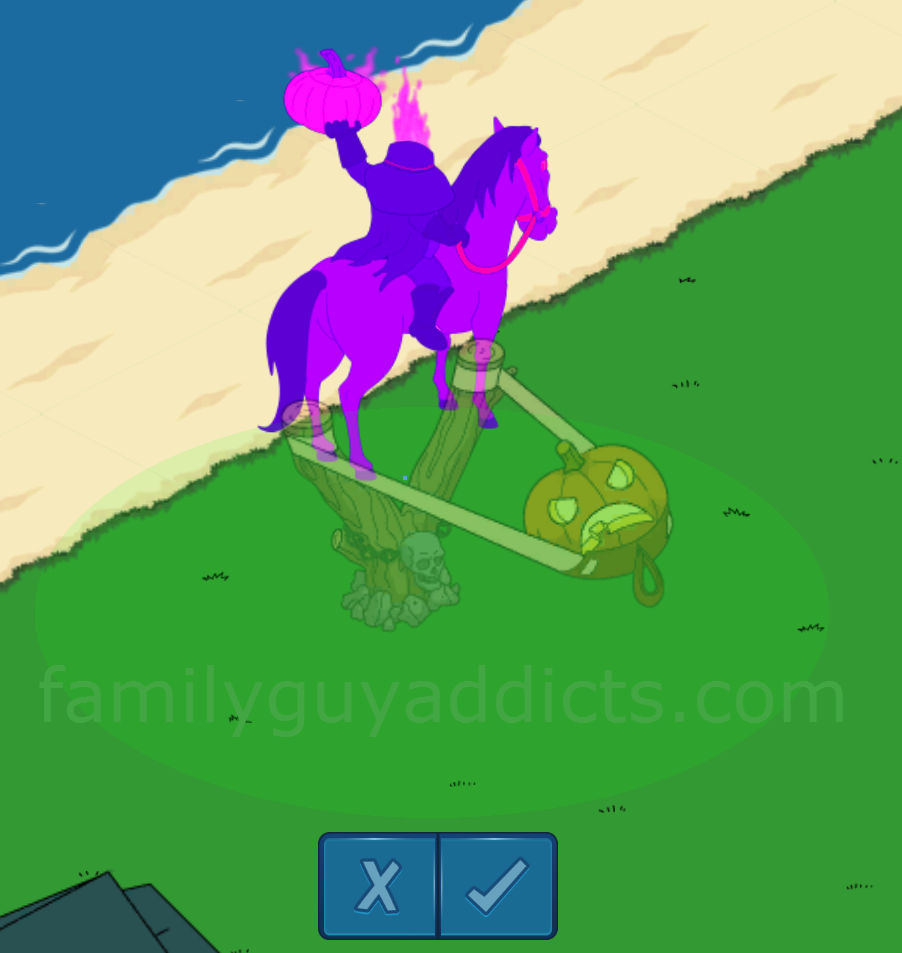
Once you have a good feel for it, then you can tap on the Check Mark and fire.
Remember, put the Launcher in FRONT of the Horseman so they walk INTO the Kill Zone. This will also help you to ensure you do not miss and waste all that time and those items you worked so hard to get.
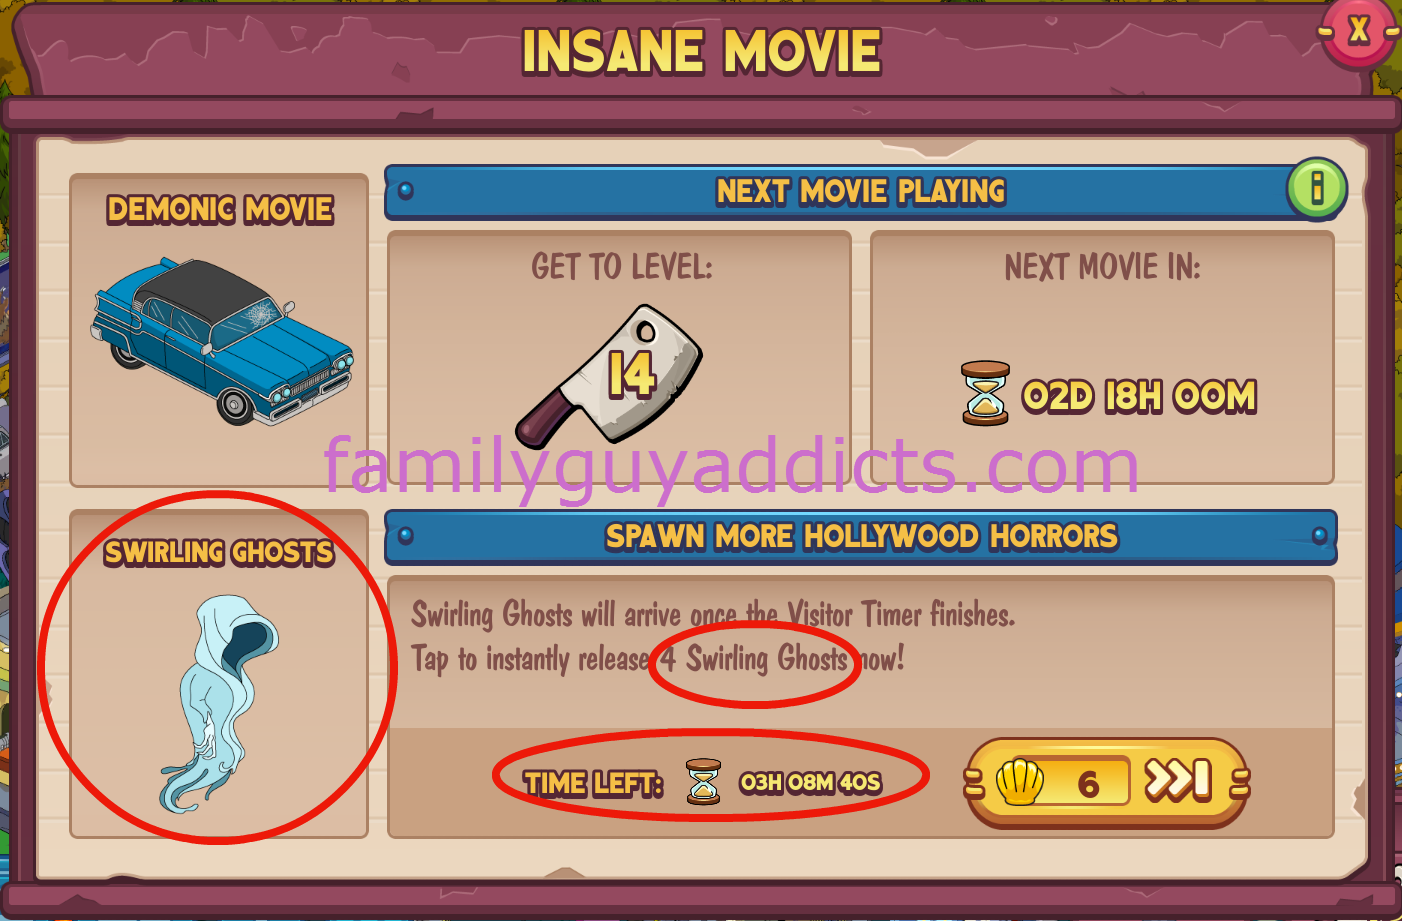
HOW OFTEN DO THEY APPEAR?
This will depend on YOUR game. If you tap on the Movie Screen in your game, you will be able to see what Horror will be the Next one to come out, how many of that Horror, and how much time is left until it releases.
So watch there for the next Horsemen to appear.

Let’s take a closer look now at the Crazy Clowns.
WHEN DO THE CRAZY CLOWNS ARRIVE IN THE GAME?
They will begin to appear after Return of Death at the Drive-In Part 1.
WHAT DO I NEED FOR THEM?
Gunpowder Barrels and Circus Cannons. Each Crazy Clown requires THREE Circus Cannons to defeat them. So you must first collect items and create those Cannons to use on the Crazy Clowns. Part 1 of the Questline will actually award you THREE to start out with on completion of the Tasks.
 Gunpowder Barrel: Patrick Pewterschmidt Have Jackie Gleason Nightmares OR Ghostface Watch Horror Movies OR Death’s Dog Bark at Ghost Mailman OR Death’s Mom’s House OR Creepy Clown Gate
 Circus Cannons: You can create these in the Movie Prop Shack. Each one will require ONE Gunpowder Barrel and take 1hr 15mins each to create
***Note: Remember the difference of Queue vs Capacity. Queue is ONLY the items being currently made in the Movie Prop Shack. You can have ONLY 6 Props in Queue being created. CAPACITY is the number in the top left corner of the Prop Shack. This is the TOTAL amount of Props you can have in your game at one time. That means those in Queue AND already made. You can’t go over this amount. So if you have 6 in Queue and your Capacity is 8… you can only make 2 more or have 2 already made and ready for use… giving you a total of 8.
WHAT DOES IT TAKE TO TAKE DOWN A CRAZY CLOWN?
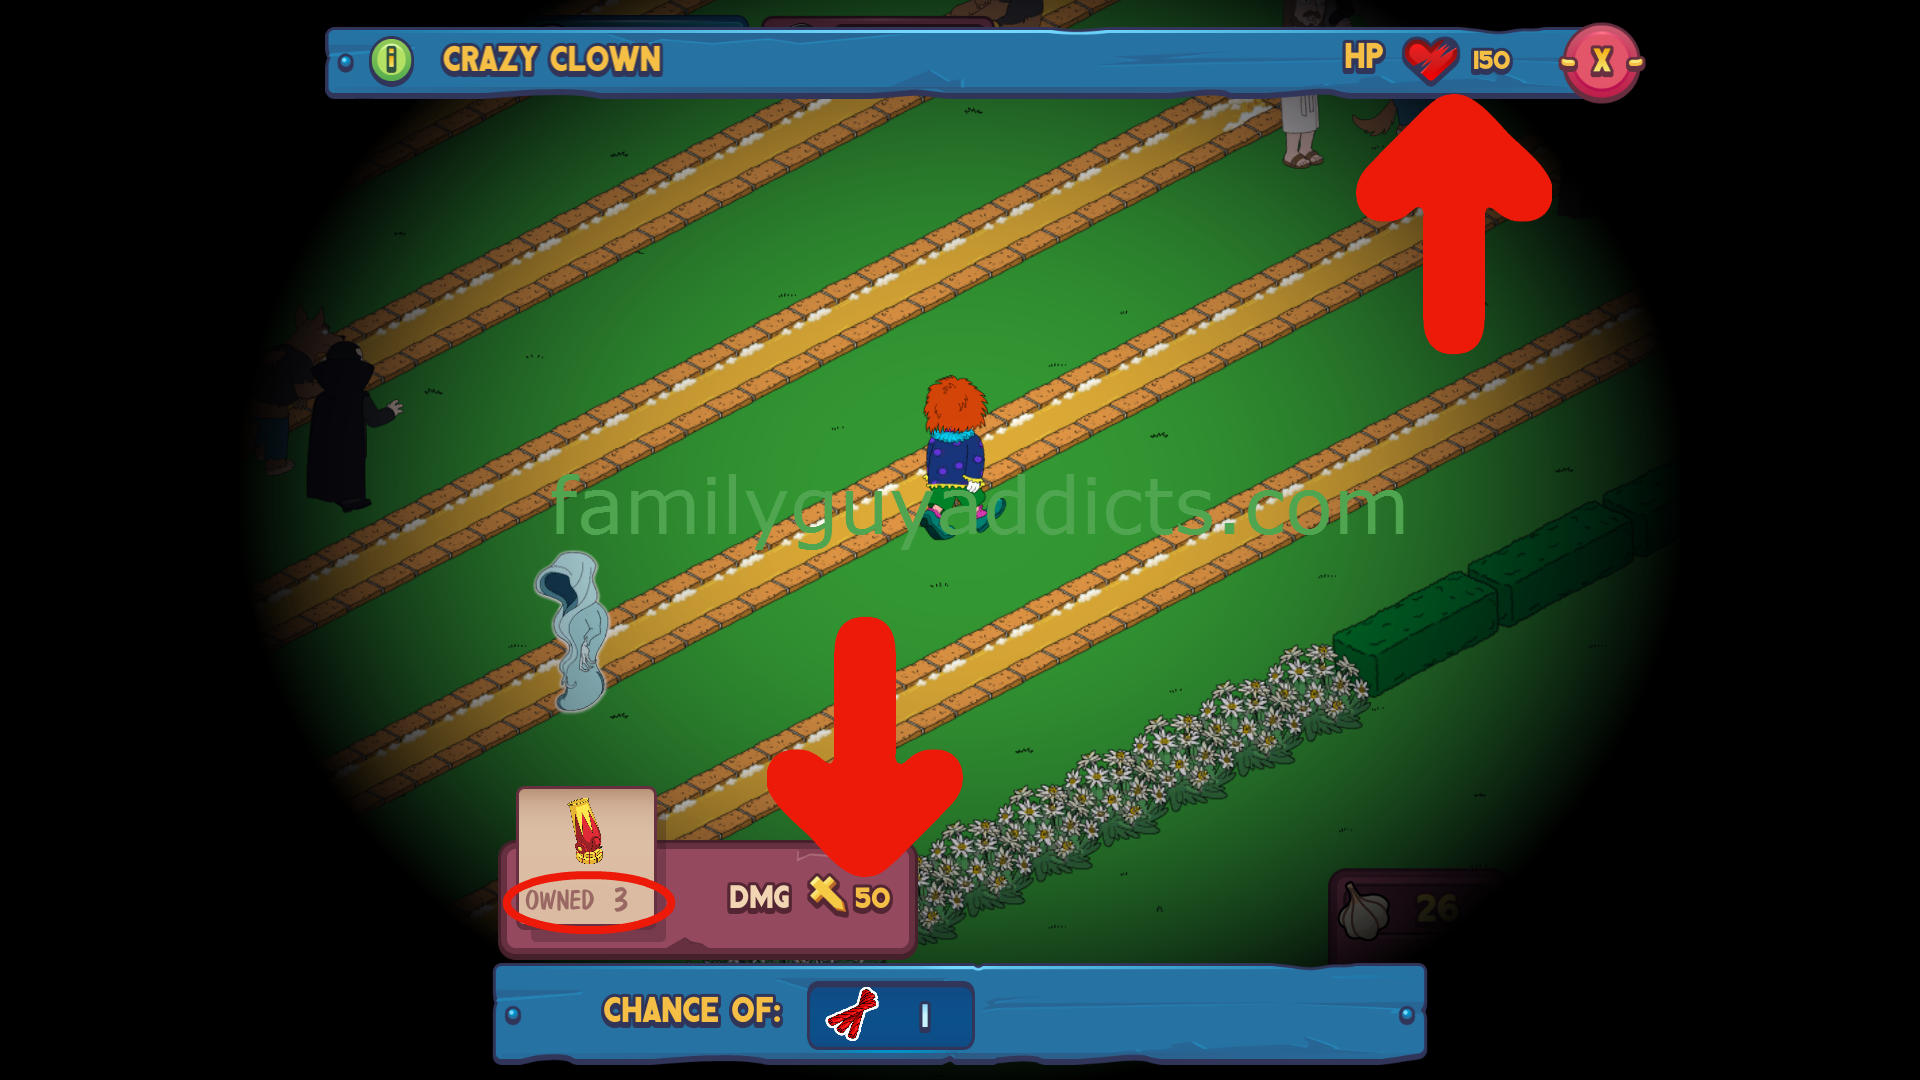
As noted above, you will need THREE Circus Cannons to take down each Crazy Clown. This is due to each Clown has a Total of 150HP and each Cannon only does 50 Damage. So… 50+50+50=150.
Make sure you are paying attention to the HP amount in the upper right corner of the screen when you tap on a Clown. This way you know if you have not hit them yet, or hit them once already, or hit them twice already. This will help you to get Materials faster as you are not wasting time hitting multiple Clowns only once when you could have completely killed one with that Second Launcher.
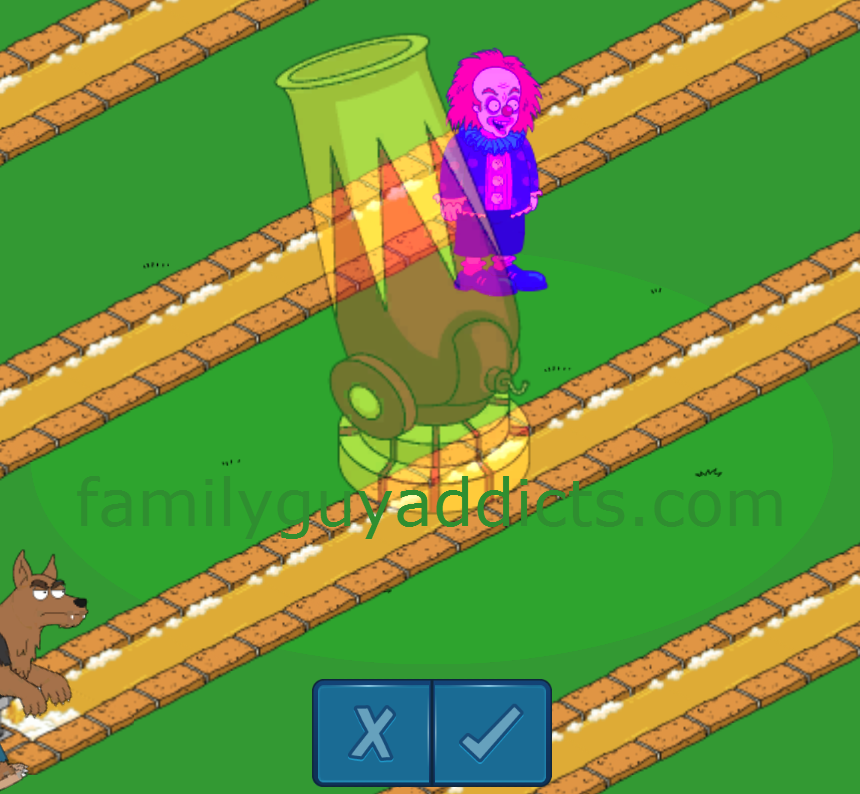
HOW DO I HIT A CRAZY CLOWN WITH THE CANNON?
Same concept as above, tap on the Horror… in this case the Crazy Clown… and make sure it is the one you want to attack. Once you are sure, tap the Circus Cannon Icon in the Lower part of the screen. (It will tell you how many are currently “OWNED”.)
Once you Tap on OWNED, you will now see the Circus Cannon on the screen with the “KILL ZONE CIRCLE” in a bit lighter shade around it. This is where you want the Clown to be BEFORE you tap on the Check Mark to fire it.
Now to wait. Play around with it just a bit before firing to get the hang of it. Tapping directly on the faded image of the Cannon and dragging it around will move it all over on your screen. You are basically getting an idea of how fast the Clowns are going to move in/turning Purple and move out/ turning back to normal of that Kill Zone Circle.
Once you have a good feel for it, then you can tap on the Check Mark and fire.
Remember, put the Cannons in FRONT of the Clown so they walk INTO the Kill Zone. This will also help you to ensure you do not miss and waste all that time and those items you worked so hard to get.
HOW OFTEN DO THEY APPEAR?
As soon as you clear out one Crazy Clown, wait a few seconds and check over by your Movie Screen. One will just appear, so these are a bit different then the other Horrors. All you have to do is clear one out for another to show up.
Also if you choose to get the Clown Car, another Clown will spawn when it times down. I currently have 3 roaming around and have not seen a MAX just yet, but I also have only allowed this many to stack up at a time as they are needed for the Event Phase.
 Clown Car: 80
  3D Glasses
QUICK TIPS FOR ANY HORRORS NEEDING PROPS
KILL ZONE VS NON KILL ZONE
Best thing to remember when firing on ANY of the Horrors is…
![]()
 PURPLE = GOOD

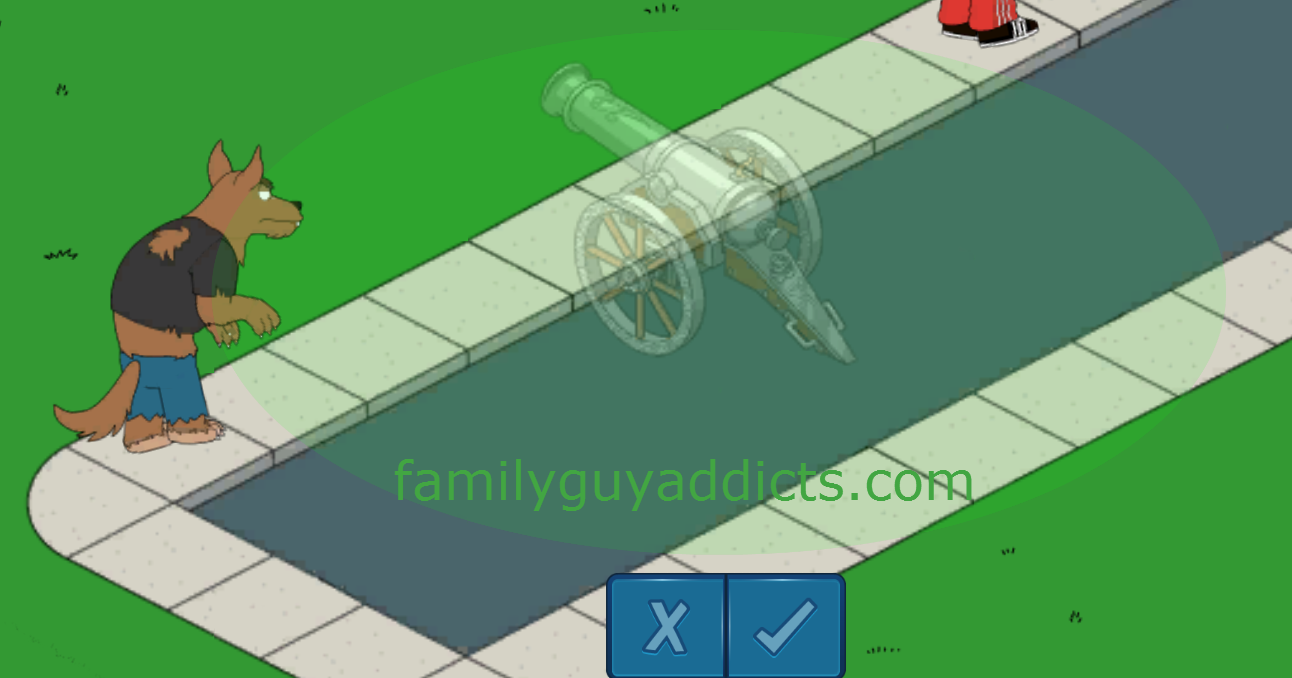
![]() Normal= BAD.
Normal= BAD.
PURPLE= GOOD, tap the Check Mark and fire (Make sure they are walking INTO the Kill Zone)
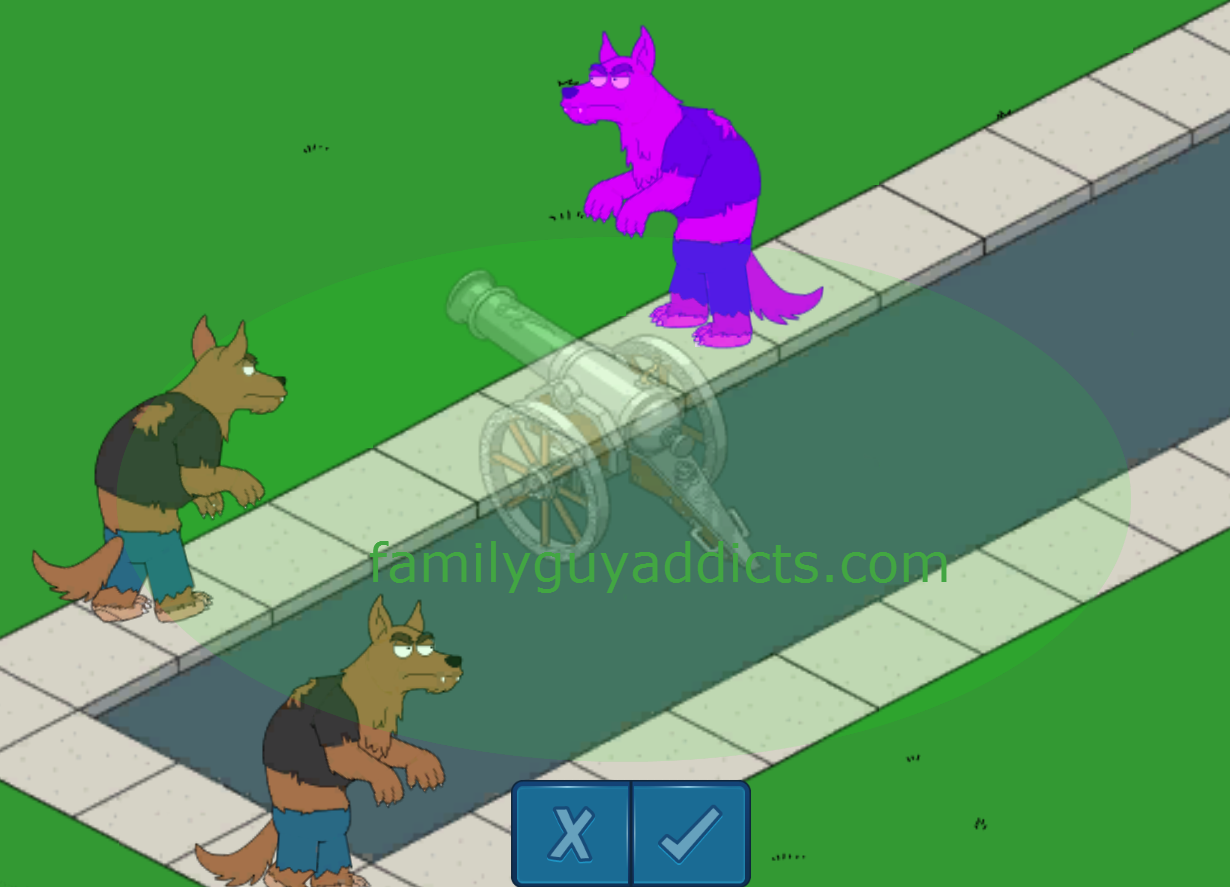
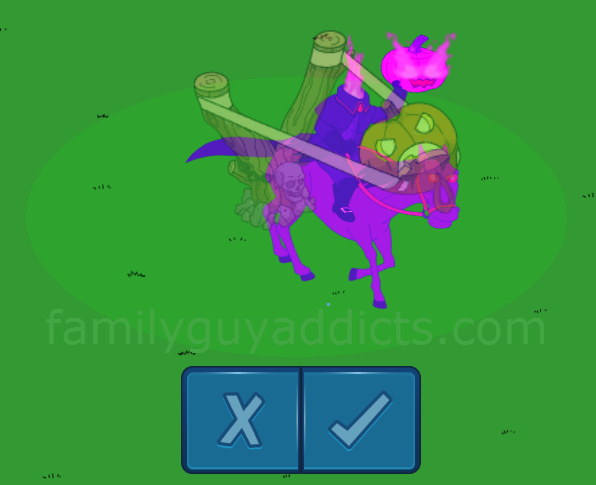
NORMAL= BAD, wait or re-position the Prop
CAN I GET MORE THAN ONE AT A TIME?
No, it will ONLY select one in the Kill Zone Circle. So make sure it is the one you want.
WHY DID IT TAKE OUT THE WRONG ONE?
As noted before, the Horrors move around and more than one may walk in and out of that Kill Zone Circle. Just keep an eye on the one you are targeting and make sure THEY are the one that is PURPLE before you fire that Cannon. If they walk out of the Kill Zone Circle and another walks in, the target will hit the new one Highlighted Purple.
TIPS FOR BETTER MANAGING HITS AND HORRORS
TinyCo has made it now that all the Horrors will follow Roads and stay on a path. This works GREAT for those that do not mind spending a lil time and effort to create a Maze or two. You can now kind of “direct the traffic flow” of where your Horrors are going to and from. This can help focus your hits in specific target areas.
Not sure on how this helps? Here are some Helpful Tips on Maze Making.
MORE INFO
For more information on some of the other Horrors…
There you have it. An overall idea of how to get the items needed to take out the Headless Horsemen, Crazy Clowns, as well as some overall tips.
Have any further tips for your fellow Readers on the Horrors? Any successful options you have used for them? Tips on ways you corralled them? Let us know.
~Bunny


Why can I only use lick rice at the concession stand now? I’ll never get many film reels this way. When will I be able to use popcorn, drinks, and chocolate bars again?
LikeLike
Take a look at the New Phase 5 Live post, you will see that once you use it one time… more options come along. 🙂
LikeLike
Hi all
Help.
I’m well behind and need help please. I’m getting toward clicking on the brown (?) car for Meg’s 3rd friend, but I can’t find the info on what I’ll require to unlock her with regards to the timer, can anyone point me there please? I messed up and was just short of getting her first friend, but managed to get the second.
LikeLike
LikeLike
When you buy the Movie Prop Warehouse, does that also give additional queue spots or only storage capacity?
LikeLike
No. No matter what, Queue will ONLY be those 6 squares, nothing more. Capacity is the only item impacted by Warehouse.
LikeLiked by 1 person
So I did some basic math to try and figure out which weapon yielded the most reels for your time.
Obviously the exchange rates change, but this is based on what I’m seeing now, on average.
Clowns = 2.8 reels per hour
Horsemen = 2 reels per hour
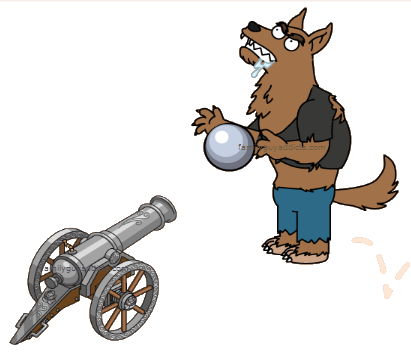
Werewolfs = 4.1 reels per hour
Nuns = 1.3 reels per hour
That doesn’t factor in Slasher Lois or the ghost or any other methods to get currency. It is to figure out what is the best use of time in the Prop Shack.
Based on my math, Werewolfs/Cannon Balls are by far the best payout. And they also have the added benefit of releasing your characters. So after doing those calculations, I’m going to be crafting only cannon balls from now on. It seems like it is rewarding you for doing the item that crafts the quickest, since it means you have to check in with the game and play more often, similar to the way that shorter jobs pay a higher rate. Anyway, if you guys ran any numbers and got something different, I would love to hear it.
LikeLiked by 1 person
I had the same findings, except I calculated based on minutes per single reel. The only issue I have is starting to run out of werewolves, so I switch to the next best, and hunt the clowns😈
LikeLike
Realized this as well. Finally making the werewolf torture chamber come in handy.
LikeLike
I agree with you. But like Blammin! said you can run out of werewolves and I haven’t always had an option to trade in soda. So I’m going for a combination of werewolves and clowns.
LikeLike
I did something similar except I break down what’s available in the concession stand for me and what is the best payout for reels in the shortest amount of time. Since these are constantly changing and everyone has something different, it is unfortunate that we can’t share calculations. However, most of my calculations are showing the cannons/werewolves/sodas are yielding the best. So during the hours I am awake, that is what I am doing the most of save for whatever I need to do for quest lines or weekly challenges. Overnights I close out with three barrels and four pumpkins which is 9:45 of time and back time it to finish at 7 am (I wake up at 6:30) so I can knock off one clown and two horsemen right away and then back to cannons. Just remember to collect the first barrel and start the last pumpkin as your last task of the night so six can be working while you sleep.
LikeLike
The exchange rates are pretty consistent (at least they are now)
Popcorn is about 7 to 1 or 10 to 1 when combined with other stuff.
Soda is 5 to 2, chocolate is 2 to 1 and licorice is 7 to 5.
I’ve had very few offers this week not follow this formula, and those that did were only off by one reel, typically in my favor.
LikeLike
Glad to know I’m not the only nerd doing this type of math 🙂
I too looked at the number of minutes of queue time it takes to get 1 reel. I always keep two silver cannons ready since it seems they turn in pairs, then I focus on cannons for clowns except when a quest line requires something else.
Of course all the math might change with the next act.
LikeLike